Skip to content
Back to portfolio
Hexis plugin

Hexis Auto Fighter

General-purpose combat that reads the fight before it acts.

Build a combat assignment around the monsters you want, then let intelligent targeting, survival, looting and supply management carry it. Hexis Auto Fighter supports straightforward training and more involved encounters without turning every location into a new script.
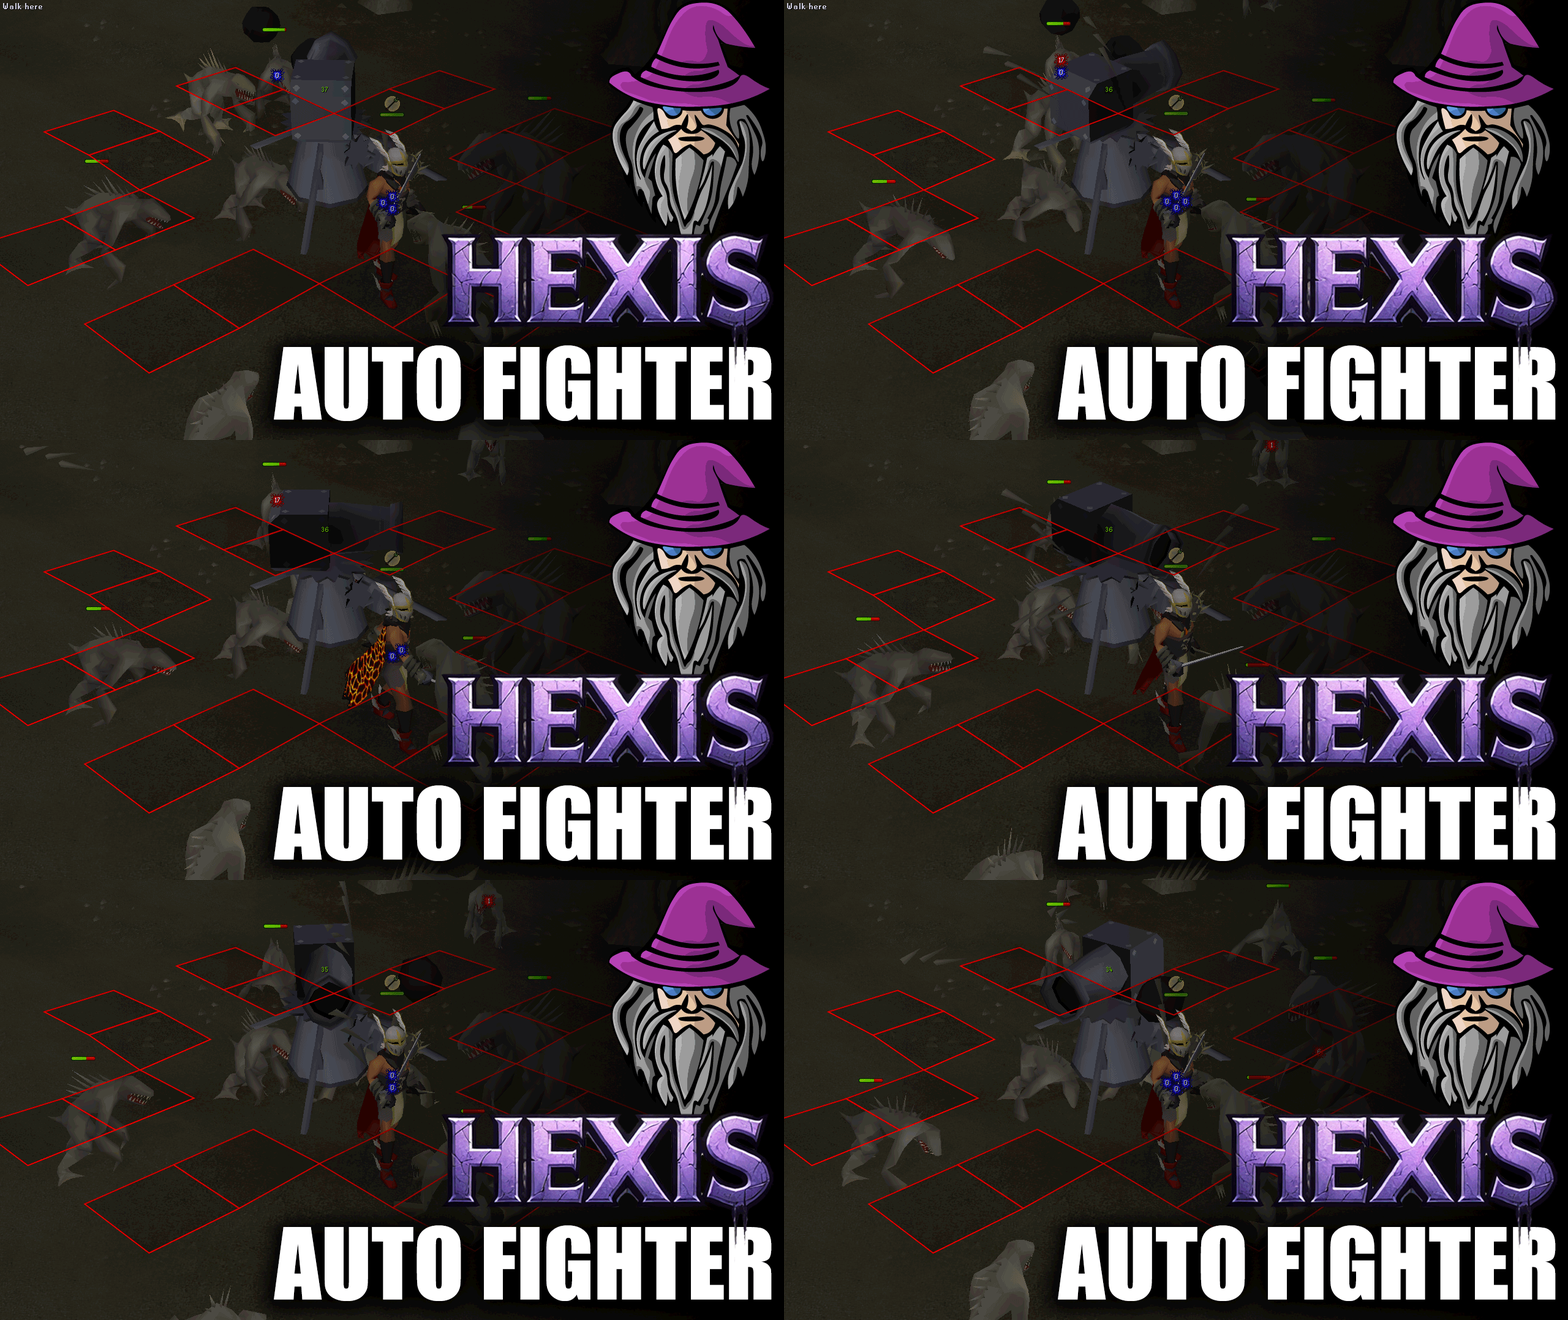
Hexis Auto Fighter promotional artwork

Smart targeting

Prioritises superiors, active threats and reachable nearby targets in that order.

82 spec weapons

Swaps special-attack weapons in and returns to the correct combat style automatically.

Loot with intent

Collect by name, noted form or value, then alch, bury, store or discard the rest.

01

Combat that understands context

Targets and actions are chosen from the state of the fight, not a fixed timer.

  • Wildcard names, level exclusions, reachability and line-of-sight filters
  • Multi-step finishing items such as rock hammers and fungicide spray
  • Arceuus thralls, cannon management and Kraken support
  • AoE movement that avoids the actual landing tile
02

Survival you can configure

The plugin keeps supplies useful and knows when a session should end.

  • Combo eating, antifire, antipoison and anti-venom
  • Quick prayers or zero-drain prayer flicking
  • Combat potions, hearts and prayer-restoration support
  • Five escape routes tried in a cost-conscious order
03

A cleaner loot loop

Combat and inventory decisions work together.

  • Ironman-aware ground-item selection
  • High alchemy, bone burying, herb sack and seed box support
  • Visible camp tile with configurable fight and loot radius
  • Client-native kill and loot tracking

Quick start

From setup to running

A short checklist based on the plugin’s current Bot Client instructions.

  1. 1Choose one or more NPC names, using wildcards where useful.
  2. 2Set the camp tile and combat radius.
  3. 3Configure food, prayers, potions, cannon and special attacks.
  4. 4Create looting rules by name or value.
  5. 5Start in the area you want the plugin to hold.